
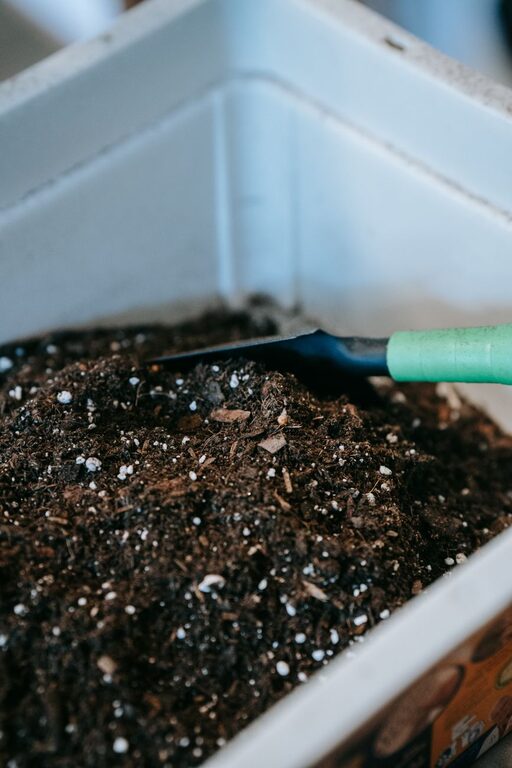
Composting at home is a fantastic way to reduce waste, enrich your garden soil, and contribute to a healthier environment. If you’re new to composting, the process might seem a bit confusing at first, but with the right tips and a little practice, you’ll be on your way to creating rich, organic compost in no time. This guide offers beginner-friendly advice to help you get started.
What Is Composting?
Composting is the natural process of recycling organic matter, such as food scraps and yard waste, into nutrient-rich soil known as compost. This “black gold” improves soil quality, helps retain moisture, and supports healthy plant growth.
Benefits of Composting at Home
– Reduces waste sent to landfills
– Enriches garden soil naturally
– Reduces the need for chemical fertilizers
– Supports beneficial soil organisms
– Lowers your carbon footprint
Getting Started: Choosing the Right Compost Bin
Types of Compost Bins
There are several options depending on your space and preferences:
– Plastic compost bins: Affordable, easy to find, and pest-resistant.
– Tumbling composters: Rotating barrels that speed up decomposition and make mixing easy.
– DIY compost piles: Simple piles or homemade bins using wood pallets or wire mesh.
– Worm composting (vermicomposting): Uses worms to break down kitchen waste in smaller containers.
Choose a bin that fits your space—balcony, backyard, or kitchen—and your composting goals.
What to Compost: Browns, Greens, and What to Avoid
Balancing your compost’s ingredients is key for successful decomposition.
Greens (Nitrogen-rich materials)
– Fruit and vegetable scraps
– Coffee grounds and tea bags
– Fresh grass clippings
– Plant trimmings
Browns (Carbon-rich materials)
– Dry leaves
– Straw or hay
– Shredded paper or cardboard
– Sawdust (untreated)
What to Avoid
– Meat, fish, and dairy products (can attract pests)
– Oils and fats
– Diseased plants or weeds with seeds
– Pet waste
Step-by-Step Composting Process
1. Start with a good base
Place coarse materials like twigs or straw at the bottom of your compost bin to help with aeration and drainage.
2. Add layers of greens and browns
Alternate layers of green and brown materials. A common ratio is about 2 to 3 parts browns to 1 part greens.
3. Keep it moist
The compost pile should be about as damp as a wrung-out sponge. Too dry slows decomposition; too wet causes odors.
4. Turn or mix regularly
Aerating your compost by turning it every 1–2 weeks helps speed up the process and prevents bad smells.
5. Be patient
Depending on the conditions, compost can take anywhere from 2 months to a year to mature. Finished compost is dark, crumbly, and earthy-smelling.
Tips for Success
– Chop or shred larger materials to speed decomposition.
– Use a compost thermometer to monitor temperature (ideal range: 120–160°F).
– Cover your compost with a tarp if rain is heavy to avoid excess moisture.
– Avoid adding too many citrus peels or onions, which can slow microbial activity.
– If pests are an issue, bury food scraps under a layer of browns and use a closed compost bin.
Using Your Finished Compost
Once your compost is ready, use it to:
– Enrich garden beds and flower pots
– Improve lawn soil by topdressing
– Feed vegetables and herbs
– Mulch around plants to retain moisture
Final Thoughts
Starting a compost pile at home doesn’t have to be complicated. With a bit of attention to what goes in and how you maintain it, you’ll soon have nutrient-rich compost to boost your garden’s health. Plus, you’ll enjoy the satisfaction of turning everyday waste into valuable resources for your plants.
Happy composting!